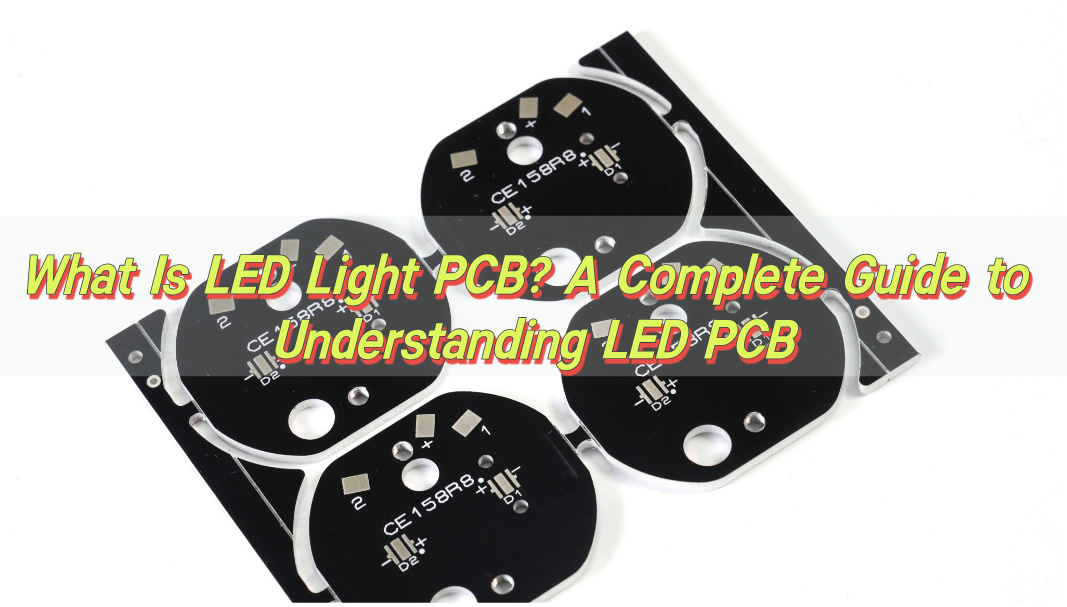
LED light PCB has become an essential part of modern lighting technology. Whether you’re designing a sleek LED light strip or a high-powered LED bulb, understanding the structure and functionality of LED PCB is vital. In this blog, Best Technology will dive deep into what makes LED light PCB, and the materials involved, their components, and the different types that suit various applications. By the end, you’ll have a clear understanding of LED PCB design, including how to connect LED to your custom board.
What Is PCB in LED Light?
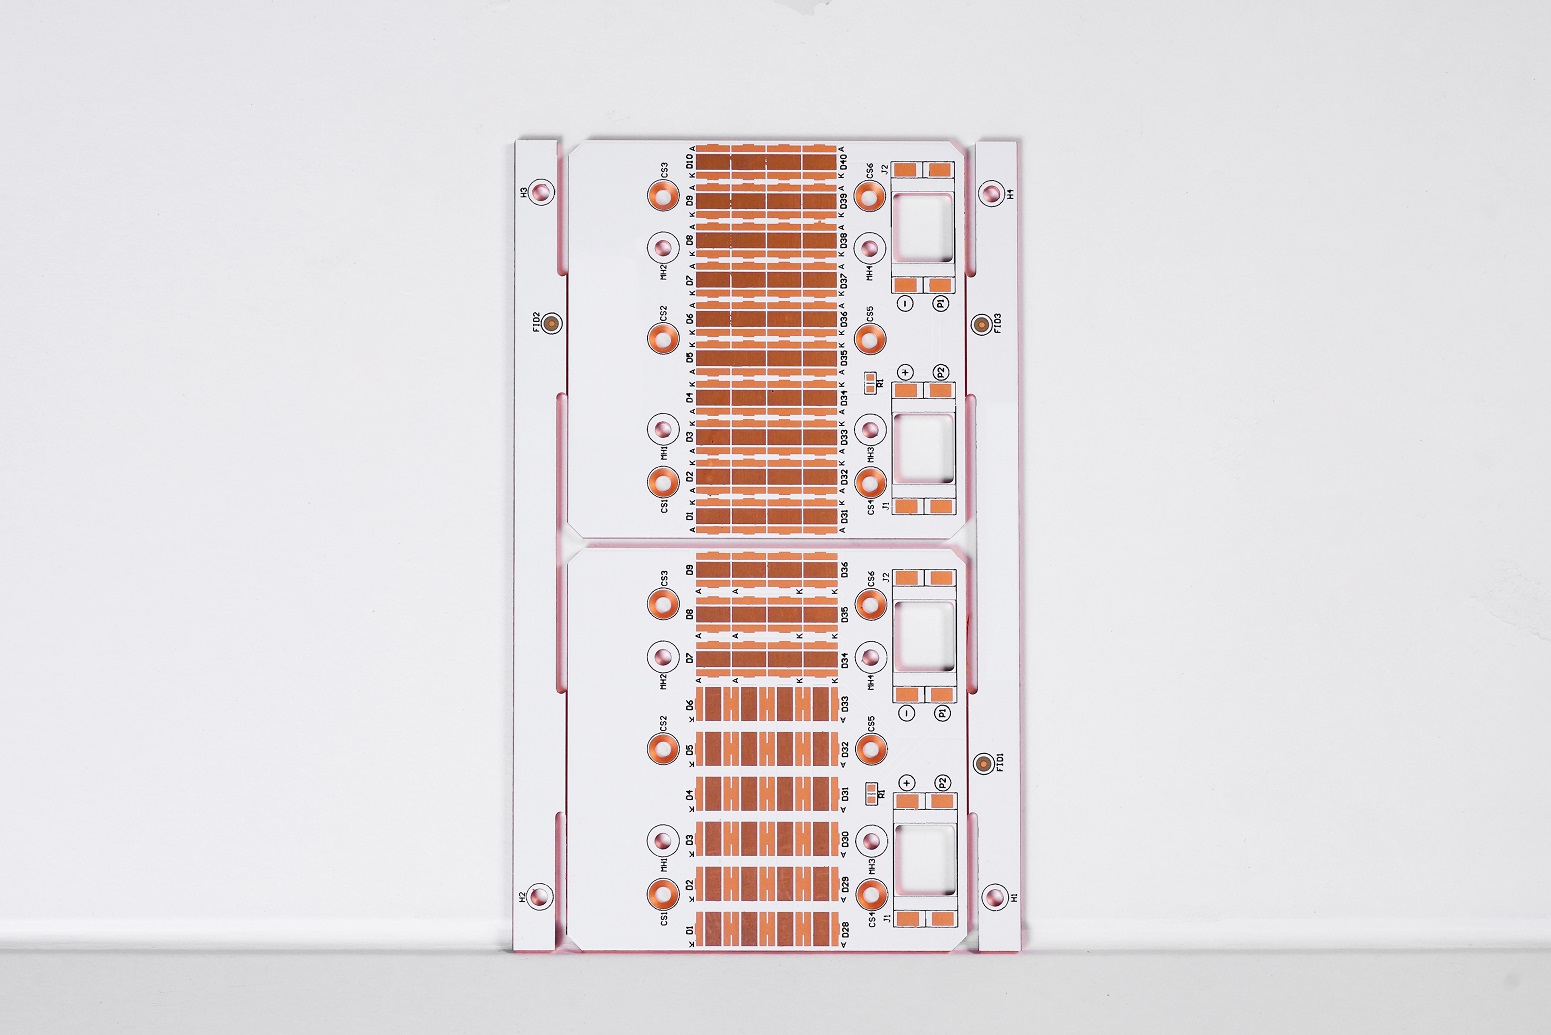
A PCB (Printed Circuit Board) in an LED light is the base where all the components of the LED circuit are mounted. This board serves as the electrical pathway that connects the individual LED chips, allowing electricity to flow through the circuit and power the LED. The design of the PCB is crucial for managing heat dissipation, ensuring optimal light output, and maintaining energy efficiency. Aluminum LED light PCB, in particular, offer excellent thermal conductivity, which is essential in preventing overheating and extending the life of LED components.
What Materials Are Used in LED PCB?
LED PCB are made using several materials that work together to ensure optimal performance. The most common materials include:
- Aluminum: Known for its high thermal conductivity, aluminum is often used in LED PCB to quickly dissipate heat. This is especially important in high-power LED applications.
- Copper: Copper is used for its excellent electrical conductivity, ensuring that current flows efficiently through the PCB.
- FR4 (Flame Retardant 4): This is a widely used epoxy resin laminate material that offers a good balance between electrical insulation and mechanical strength.
- Ceramic: In some high-performance designs, ceramic-based PCB are used, particularly when superior heat resistance is required.
Each material plays a specific role in enhancing the performance of the LED, from heat management to electrical conductivity.
What Are the Components of LED PCB?
LED PCB typically consist of the following components:
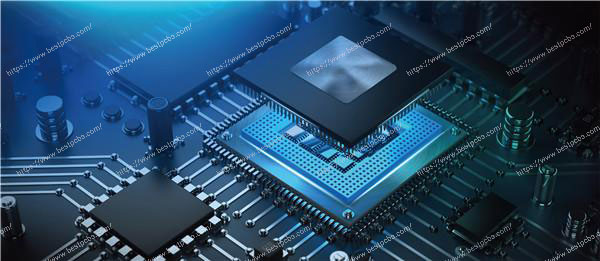
- LED Chips: These are the tiny light-emitting diodes that convert electrical energy into light. They are usually placed on the surface of the PCB.
- Copper Traces: These traces act as pathways for the electrical current, connecting the LED chips to each other and the power source.
- Thermal Management Elements: In high-power applications, components like heat sinks and through-holes are included to help dissipate heat and maintain efficiency.
- Resistors: These components control the flow of current through the LEDs to ensure they operate within their rated power limits.
- Capacitors: Capacitors help smooth out fluctuations in voltage, providing stable power to the LED.
Each component is crucial in ensuring the LED PCB works efficiently and has a long lifespan.
What Are the Different Types of LED PCB?
LED PCB come in several types, each designed to meet the needs of different applications:
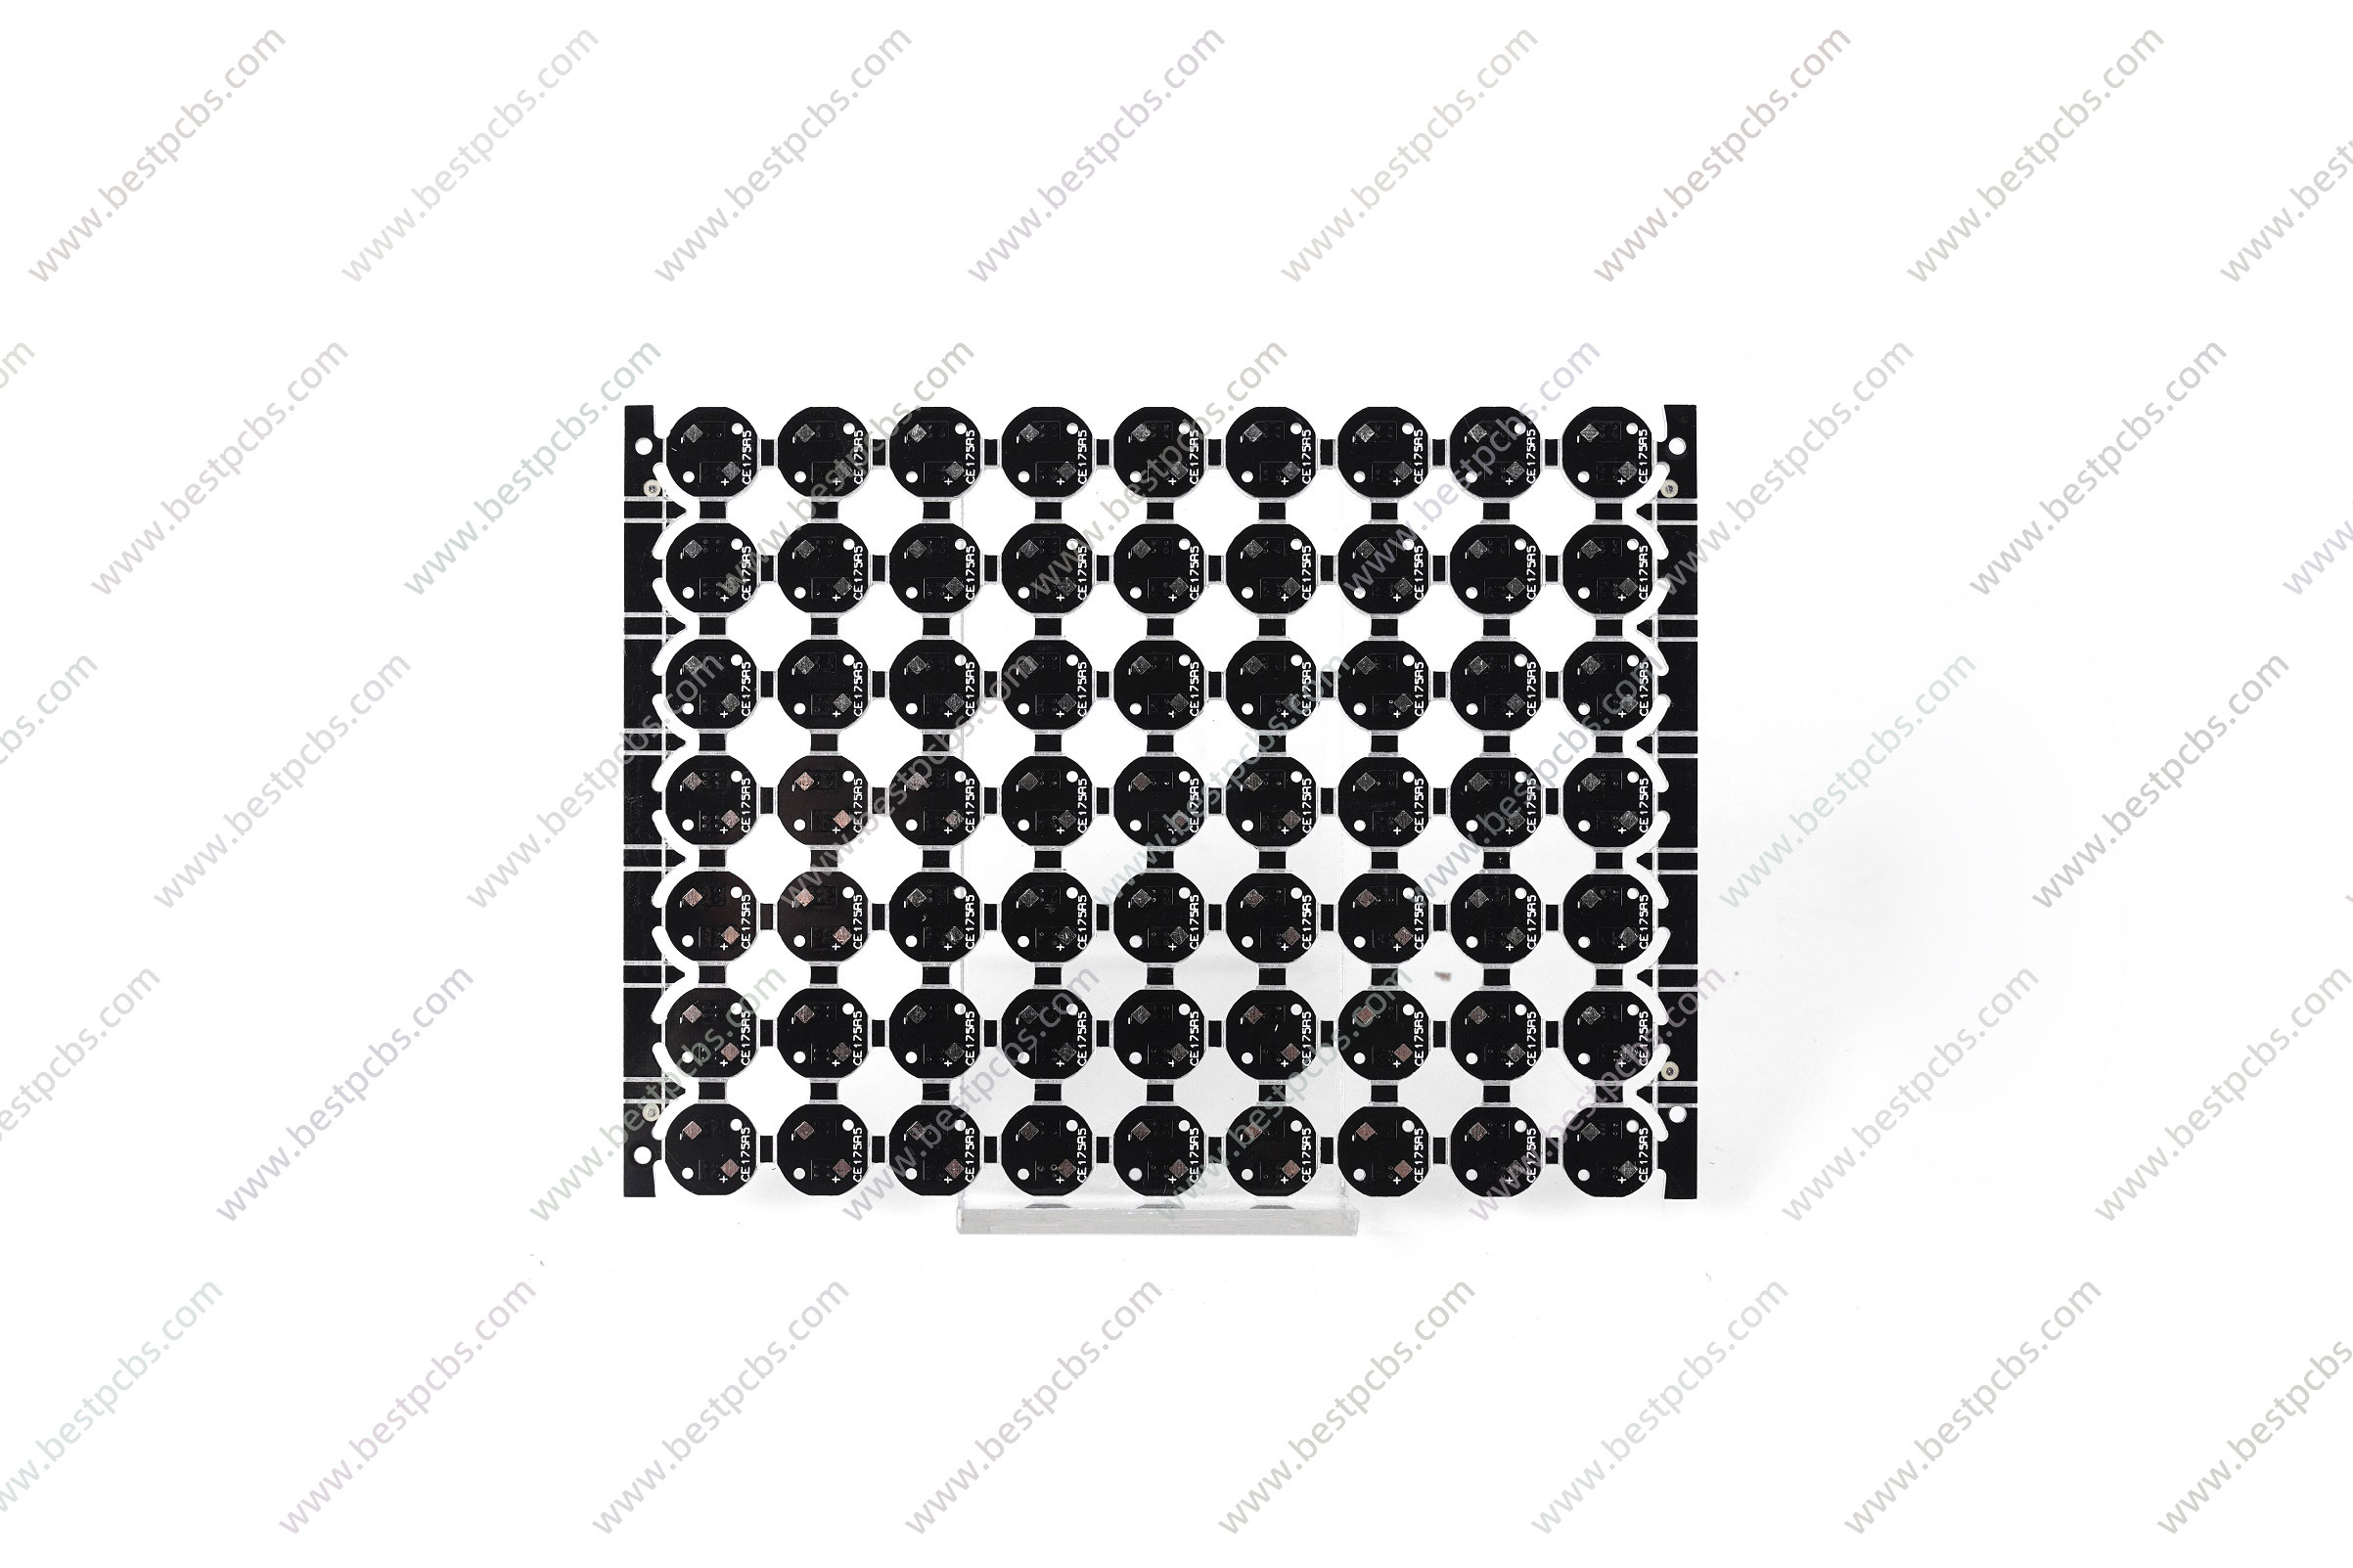
- Aluminum LED PCB: Aluminum LED PCB: As mentioned earlier, aluminum is widely used for its excellent heat dissipation. This type of PCB is ideal for high-power LED, like those used in lighting and automotive applications.
- Flexible LED PCB:These PCB are made from flexible materials, allowing them to be bent and shaped for unique or custom designs. Flexible PCB are perfect for applications like LED strips and curved lighting solutions.
- High-Density Interconnector(HDI PCB):These are used for applications requiring a higher level of integration, such as miniaturized LED systems.
- Rigid LED PCB: These are made from solid, non-flexible materials and are commonly used in applications where the PCB will remain in a fixed position, such as in LED bulbs or signage.
Each type of LED PCB is designed with specific characteristics in mind, such as flexibility, heat management, and power handling.
How to Make LED PCB?
Making an LED PCB involves several steps, from design to fabrication. Here’s an overview of the process:
1. Design: First, you need to design the layout of your PCB. This includes selecting the components, determining the size and shape of the board, and creating the electrical connections between the components. CAD (Computer-Aided Design) software is typically used to create the design.
2. Material Selection: Based on the design, select the appropriate PCB material (aluminum, copper, FR4, etc.) that meets your thermal, electrical, and mechanical needs.
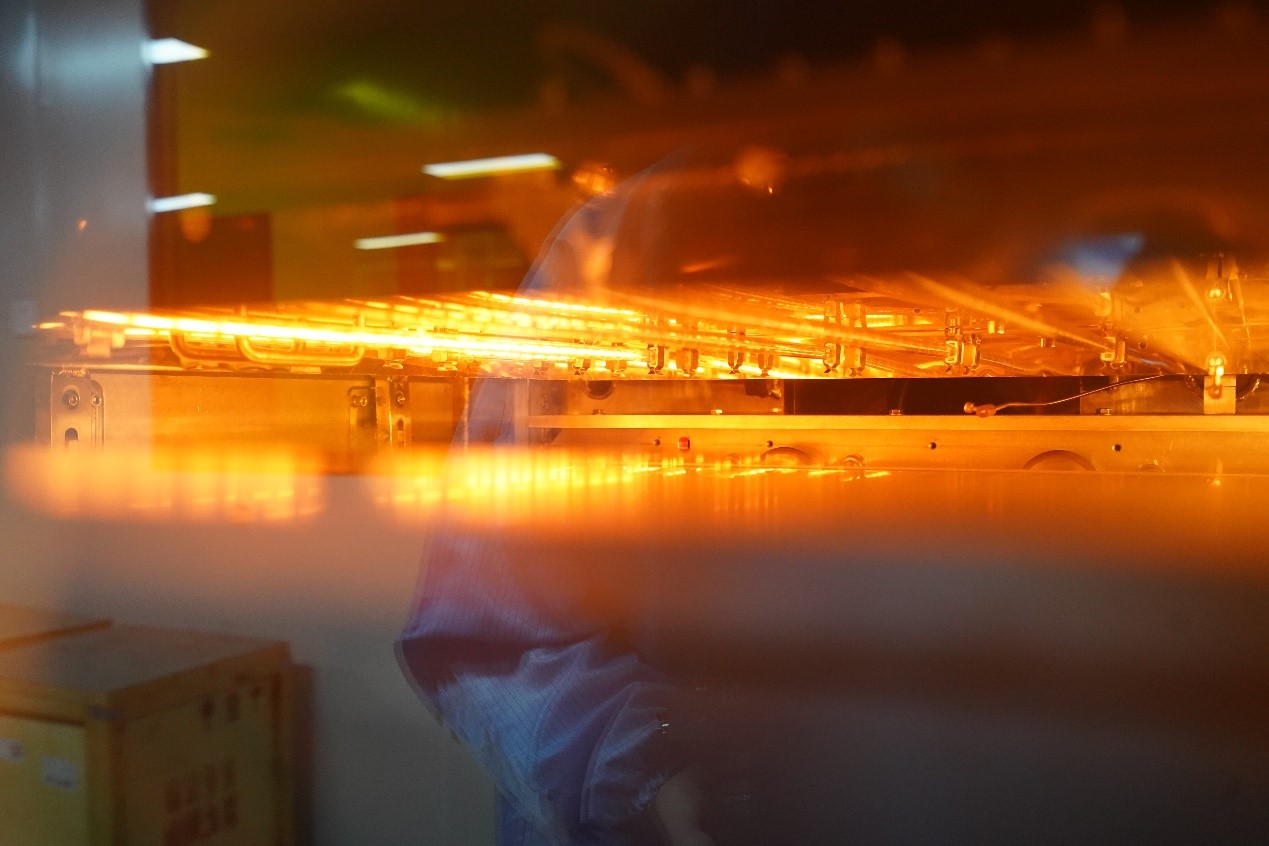
3. Printing the PCB: The design is transferred onto the PCB material using a photolithography process. This process involves applying a light-sensitive film to the board, exposing it to UV light, and then developing it to create the desired pattern of copper traces.
4. Component Placement and Soldering: After the PCB is created, the LED chips, resistors, capacitors, and other components are placed on the board. Soldering techniques, such as Surface Mount Technology (SMT) or Through-Hole Technology (THT), are used to attach the components securely.
5. Testing: Once the PCB is assembled, it’s tested for functionality. This involves checking the LED performance, ensuring the power distribution is correct, and verifying that the board is free from defects.
How to Connect LED in PCB?
Connecting LED to a PCB involves placing the LED components in the correct positions on the board and ensuring the electrical connections are made properly. Here are the steps to connect LED in a PCB:
1. Design the Circuit: Determine the number of LED you’ll use, their configuration (series or parallel), and the required power. This will dictate the placement and size of the copper traces on the PCB.
2. Place the LED: LED are usually mounted on the PCB using soldering methods. For SMD (Surface-Mounted Device) LED, they are placed directly onto the surface of the PCB, while through-hole LED are placed through the holes of the PCB.
3. Solder the Connections: Soldering is the method used to establish electrical connections between the LED leads and the copper traces. For high-density applications, automated soldering techniques are often used to ensure precision.
4. Ensure Proper Heat Dissipation: Since LED generate heat during operation, it’s important to make sure the PCB design incorporates adequate thermal management, such as through-holes, heat sinks, and the right choice of materials.
Properly connecting LED ensures optimal performance, longevity, and safety for the final product.
Conclusion
LED light PCB are a game-changer in the world of lighting technology. From high-power lighting systems to sleek LED strips, these PCB offer exceptional performance, heat management, and reliability. Whether you’re designing a custom LED PCB or working with a manufacturer, understanding the components, materials, and types of LED PCB is essential to achieving the best results.
By selecting the right PCB type, using quality materials, and ensuring proper design and assembly, you can create LED systems that are efficient, durable, and energy-efficient. If you’re ready to bring your LED projects to life, partnering with a reliable LED PCB manufacturer is the next step toward achieving the perfect lighting solution for your needs.
Call to Action
Ready to design your own LED light PCB? Contact Best Technology at sales@bestpcbs.com today to learn about our custom PCB solutions, from aluminum LED light PCB to flexible LED strips. Let us help you make the prefect pcb with your next project! Looking forward to hearing from you!