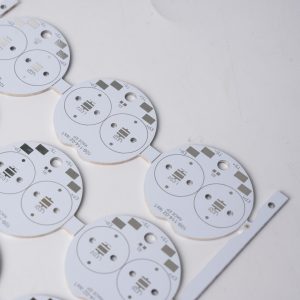
Can you use AC in PCB?AC can be used in PCB boards. PCB boards are designed to support the use of AC, and the functions of AC can be realized through proper circuit design and component selection.
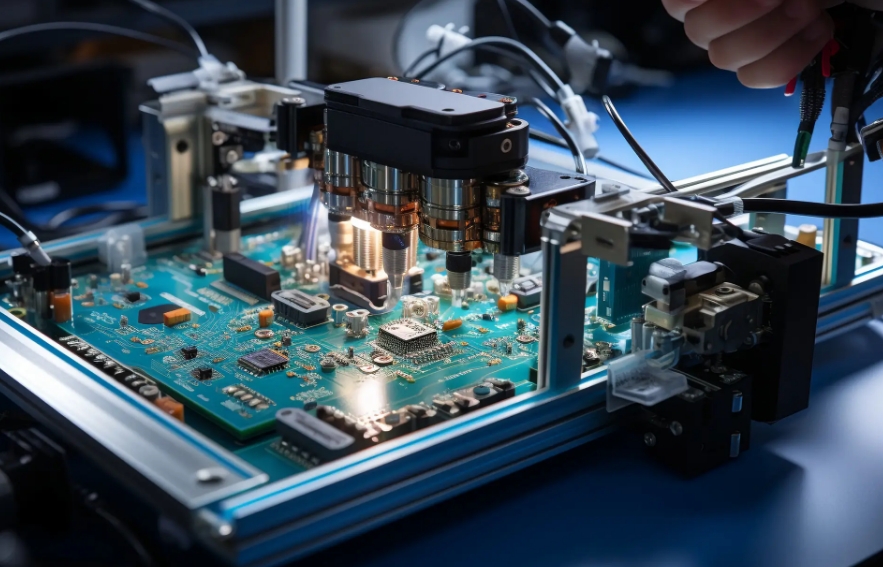
Can you use AC in PCB?
The use of AC in PCB boards requires consideration of the characteristics of AC. The current magnitude and direction of AC change continuously over time, which requires the components and layout on the PCB to adapt to such changes. For example, components such as inductors and capacitors play an important role in AC circuits, and their parameters and layout need to be carefully designed to achieve the desired circuit performance.
Specifically, AC circuit design on PCB boards includes selecting appropriate components, layout, and routing. For example, using test instruments such as LCR digital bridges can measure the parameters of components in AC circuits to ensure that the performance of the circuit meets the design requirements. In addition, reasonable ground routing and layout can reduce signal interference and ensure the stable transmission of AC.
Is the circuit board DC or AC?
Circuit boards can transmit both direct current and alternating current. In modern electronic products, we use alternating current for power supply, so most circuit boards are also designed to transmit alternating current. Of course, in some special application scenarios, some circuit boards also need to transmit direct current. Whether transmitting direct current or alternating current, the circuit board needs to meet the requirements of the transmitted current.
What is the PCB in AC?
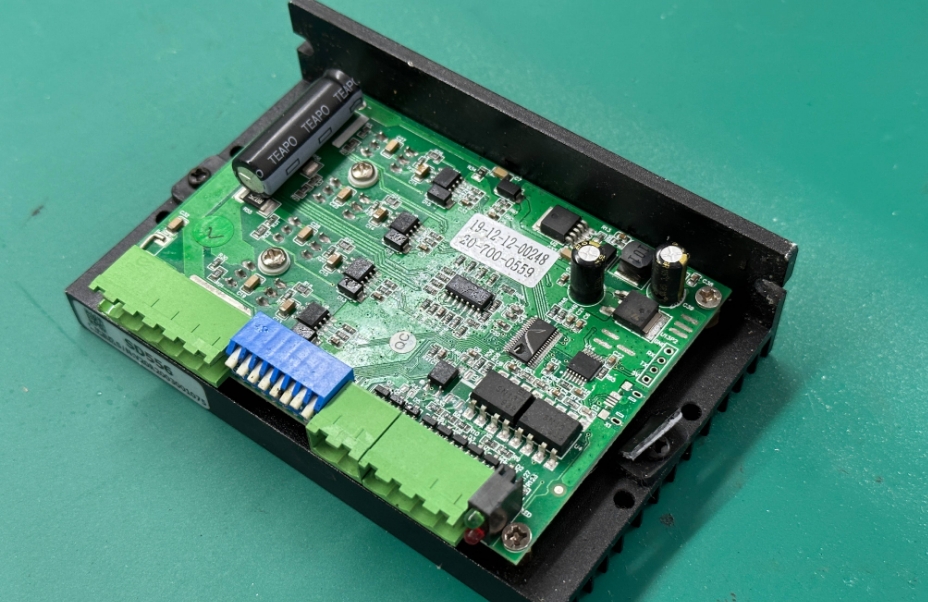
The alternating current in PCB refers to the current whose direction changes periodically, that is, alternating current (AC). The application of alternating current in PCB is mainly reflected in power conversion and power transmission. PCB power supply usually converts AC into stable direct current (DC) output to meet the demand of electronic equipment for stable power supply. PCB power supply converts AC into the required DC through components such as transformers, rectifiers, filters and voltage regulators, and provides stable power output.
How to calculate the bandwidth of AC in PCB traces
The calculation of AC PCB trace width can be performed by the following formula: W = (I / J) * K, where W represents the trace width, I represents the current, J represents the current density, and K represents a coefficient related to materials and processes. This formula shows that the trace width is related to the current, current density, and material properties.
AC in PCB Design Guide
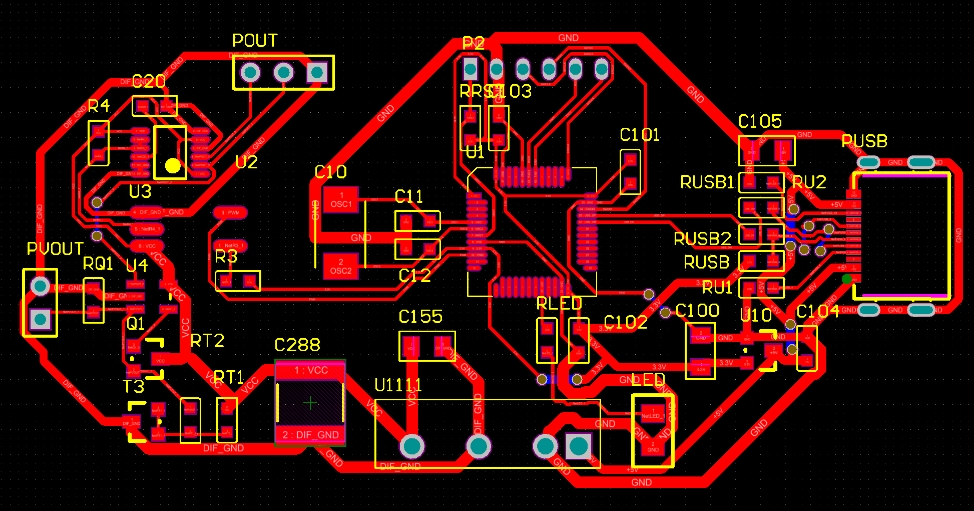
Current Carrying Capacity: The width of a trace directly affects its ability to handle current without exceeding temperature limits or causing excessive voltage drop.
Impedance Control: In high-frequency applications, maintaining controlled impedance is critical for signal integrity. Trace width, trace spacing, and dielectric properties affect the characteristic impedance of the transmission line.
Heat Dissipation: Adequate trace width helps to effectively dissipate heat, preventing thermal issues such as trace delamination or solder joint failure.
Voltage Drop: Narrower traces exhibit higher resistance, resulting in increased voltage drop along the length of the trace. By adjusting the trace width, the voltage drop can be minimized.
Manufacturability: The PCB manufacturing process imposes restrictions on the minimum trace width, and designers must balance performance requirements with manufacturability constraints. 2.
Minimum Trace Width: Most manufacturers have a minimum trace width of 6mil or 0.152mm, and typically use traces of 0.254-0.3mm.
Material and Process Deviations: Due to the possibility of material and process deviations in the actual PCB manufacturing process, a certain margin needs to be left when calculating the line width.
Signal Integrity Simulation: Perform signal integrity simulations to ensure impedance is controlled and signal degradation due to reflections, crosstalk, or transmission line effects is minimized
AC in PCB wiring
The current trend is that the power supply voltage is getting lower and lower (especially for highly integrated digital devices), the space occupied is getting smaller and smaller, the weight is getting lighter and lighter, and the efficiency is getting higher and higher, which requires the precise design of the power supply circuit starting from the PCB.
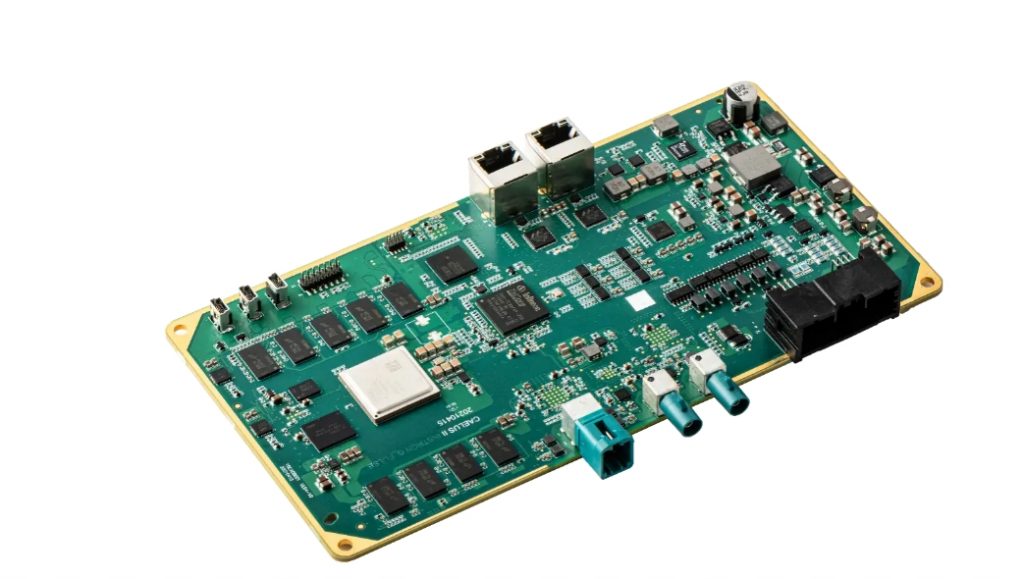
Safety distance includes electrical clearance (spatial distance), creepage distance (surface distance) and insulation penetration distance…
- Electrical clearance: the shortest distance between two adjacent conductors or one conductor and the adjacent motor housing surface measured along the air.
- Creepage distance: the shortest distance between two adjacent conductors or one conductor and the adjacent motor housing surface measured along the insulation surface.
Determination of electrical clearance:
The distance can be determined according to the measured working voltage and insulation level
The electrical clearance size requirements of the primary side line are shown in Table 3 and Table 4
The electrical clearance size requirements of the secondary side line are shown in Table 5
But usually: Primary side AC part: L-N ≥ 2.5mm before the fuse, L.N PE (earth) ≥ 2.5mm, no requirements are made after the fuse is installed, but a certain distance should be maintained as much as possible to avoid short circuit damage to the power supply.
Primary side AC to DC part ≥2.0mm
Primary side DC ground to earth ≥2.5mm (primary side floating ground to earth)
Primary side to secondary side ≥4.0mm, components connected between primary and secondary sides
Secondary side gap ≥0.5mm
Secondary side ground to earth ≥1.0mm
Note: Before determining whether it meets the requirements, the internal parts should be applied with a force of 10N and the outer shell with a force of 30N to reduce the distance so that the space distance still meets the requirements under the worst case.
Determination of creepage distance:
Based on the working voltage and insulation level, the creepage distance can be determined by looking up Table 6
But usually: (1), primary side AC part: L-N ≥2.5mm before the fuse, L.N earth ≥2.5mm, no requirement is required after the fuse, but try to keep a certain distance to avoid short circuit damage to the power supply.
(2) Primary side AC to DC part ≥2.0mm
(3) Primary side DC ground to ground ≥4.0mm such as primary side ground to earth
(4) Primary side to secondary side ≥6.4mm, such as optocoupler, Y capacitor and other components, the foot spacing ≤6.4mm needs to be slotted.
(5) Secondary side parts ≥0.5mm
(6) Secondary side ground to earth ≥2.0mm or more
(7) Transformer two-stage ≥8.0mm or more
- Insulation penetration distance:
It should meet the following requirements according to the working voltage and insulation application:
- For working voltage not exceeding 50V (71V AC peak or DC value), there is no thickness requirement;
- The minimum thickness of additional insulation should be 0.4mm;
- When the reinforced insulation is not subjected to any mechanical stress that may cause deformation or performance degradation of the insulating material at normal temperature, the minimum thickness of the reinforced insulation should be 0.4mm. If the insulation provided is used in the protective casing of the equipment and will not be bumped or scratched during maintenance by the operator, and any of the following conditions apply, the above requirements do not apply to thin insulating materials regardless of their thickness;
- For additional insulation, at least two layers of material are used, each of which can pass the dielectric strength test for additional insulation; or:
- For additional insulation composed of three layers of material, any combination of two layers of material can pass the dielectric strength test for additional insulation; or:
- For reinforced insulation, at least two layers of material are used, each of which can pass the dielectric strength test for reinforced insulation; or:
- For reinforced insulation composed of three layers of insulating material, any combination of two layers of material can pass the dielectric strength test for reinforced insulation.
- Points to note about wiring process:
Flat components such as capacitors must be flat without glue.
If the distance between two conductors can be shortened by applying a force of 10N, which is less than the safety distance requirement, glue can be used to fix the part to ensure its electrical clearance.
When laying PVC film inside some shell equipment, attention should be paid to ensuring the safety distance (pay attention to the processing technology).
When fixing the parts with glue, be careful not to leave foreign matter such as glue wire on the PCB board.
When processing parts, insulation damage should not be caused.
- Requirements for flame-proof materials:
Heat shrink tubing V-1 or VTM-2 or above; PVC tubing V-1 or VTM-2 or above
Teflon tubing V-1 or VTM-2 or above; plastic materials such as silicone sheets, insulating tape V-1 or VTM-2 or above
PCB board 94V-1 or above
- Regarding insulation level
(1) Working insulation: insulation required for normal operation of equipment
(2) Basic insulation: insulation that provides basic protection against electric shock
(3) Supplementary insulation: independent insulation applied in addition to basic insulation to protect against electric shock in case of basic insulation failure
(4) Double insulation: insulation consisting of basic insulation plus supplementary insulation
(5) Reinforced insulation: a single insulation structure that provides the same level of protection against electric shock as double insulation under the conditions specified in this standard
The applicable situations of various insulation are as follows:
A. Operational insulation
a. Between parts with different voltages
b. Between ELV circuits (or SELV circuits) and grounded conductive parts.
B. Basic insulation
a. Between parts with dangerous voltages and grounded conductive parts;
b. Between SELV circuits with dangerous voltages and grounding-dependent;
c. Between the primary power conductor and the grounded shield or the core of the main power transformer;
d. As part of double insulation.
C. Supplementary insulation.
a. Generally speaking, between accessible conductive parts and parts that may carry dangerous voltages after basic insulation is damaged, such as:
Ⅰ. Between the surface of handles, knobs, handles or similar objects and their ungrounded axis.
Ⅱ. Between the metal casing of the second category equipment and the outer skin of the power cord passing through this casing.
Ⅲ. Between the ELV circuit and the ungrounded metal casing.
b. As part of double insulation
D. Double insulation
Double insulation Reinforced insulation
Generally speaking, between the primary circuit and
a. between accessible ungrounded conductive parts, or
b. between floating SELV circuits, or
c. between TNV circuits
Double insulation = basic insulation + supplementary insulation
Note: ELV circuit: extra low voltage circuit
Under normal working conditions, the AC peak value between conductors or between any conductors does not exceed 42.4V or the DC value does not exceed 60V.
SELV circuit: safety extra low voltage circuit.
A properly designed and protected secondary circuit so that under normal conditions or single fault conditions, the voltage between any two accessible parts, and between any accessible parts and the protective grounding terminal of the equipment (only for Class I equipment) will not exceed the safety value.
TNV: communication network voltage circuit
Under normal working conditions, the circuit carrying communication signals
Difference between direct current and alternating current
The main differences between DC and AC include direction and polarity, voltage change, current loss, transformer use, and application scenarios.
Direction and polarity:
DC: The direction of the current remains unchanged, and the electrons flow from the positive electrode to the negative electrode.
AC: The direction of the current changes periodically, and the electrons flow back and forth between the positive and negative electrodes.
Voltage change:
DC: The voltage remains constant and does not change over time.
AC: The voltage magnitude and direction change periodically over time. For example, the mains is an AC with a sine waveform.
Current loss:
DC: Fault losses are relatively small.
AC: There is capacitive current, and there is capacitive current in the transmission line.
Transformer use:
DC: The voltage cannot be changed using a transformer.
AC: The voltage can be changed using a transformer, which is suitable for boosting voltage to reduce losses during long-distance transportation.
Application scenarios:
DC: Suitable for low-voltage electrical appliances and occasions that require stable current.
Alternating current: Suitable for household and industrial use, using transformers to change voltage to suit different needs.
FAQ About AC in PCB
FAQ About AC in PCB
Q: The relationship between PCB current and line width. Is the current divided into AC or DC?
A: The relationship between PCB current and line width is not divided into AC or DC. In terms of the nature of the lines on the PCB, the lines are all made of copper materials, and both AC and DC can pass. However, how much current can pass depends on the cross-sectional area of the line on your PCB. That is, line width x thickness of the copper foil of the line. If the cross-sectional area of the line is small, only small current signals can pass, and if the cross-sectional area is large, large current signals can pass. This signal can be AC or DC.
Not just 1mm, any line width can pass DC or AC signals.
Q: There is a packaged device, and there are 2 pins in the device that need to be connected to the live wire and neutral wire of 220V AC respectively. So how to deal with this power line when drawing the PCB? Are there any size requirements for pads, wires, etc.? Are there any protective measures required? Is it not possible to directly add pads to connect to the pin pads of the device?
A: It is best to mill a groove between the neutral wire and the live wire, and choose the thickness of the wire according to the current. When the current is large, you can put a tin layer on the wire, and the pad should be slightly larger.
Q: The grounding of the PCB circuit board design is also the negative pole. What is the difference between the grounding here and the AC grounding?
A: The concept of the circuit board ground is somewhat different from that of the power supply system. The power supply system refers to the earth, that is, the terminal with the same potential as the earth.
The ground in the circuit board is just a common terminal of a potential, which can be positive or negative, depending on the needs of the designer. It’s just that everyone is used to and assumes that the negative pole is the common terminal, that is, the ground. The circuit board ground is not necessarily connected to the earth.
But it must be connected to the earth when EMI filtering is required.
Q: Should all GNDs on the PCB board be connected? There is a terminal (screw type) with two terminals marked as V1+ and V1- on the PCB schematic. Should V1- be connected to the power supply ground? But I used a multimeter to measure why V3- is not connected to other GNDs on the board?
So how do you connect the ground and 10V of the power supply to the V1+ and V1- ends of the terminal?
A: Not all ground wires on the board are connected together. The ground wires are divided into analog ground and digital ground, just like the ground wire in DC and the ground wire in AC cannot be connected together. That is to say, there is a ground wire that is specifically used for power supply, and there is a ground wire that is specifically used for signals (shielding signal interference). These two ground wires cannot be connected together.
In addition, you mentioned V1+ and V1-, and V1- should not be considered a ground wire. Generally, the signal represented by this method is a differential signal, that is, the V1 signal is differentially divided into V1+ and V1-, which can reduce external interference and transmit farther. Finally, V1+ and V1- are integrated into the V1 signal.
You need to figure out whether the V1+ and V1- of the terminal are used for power supply. If they are used for power supply, then V1+ is the positive pole. V1- is the negative pole. Since you didn’t show us the picture, you can’t just connect it randomly. The circuit board needs to connect not only power but also signals, depending on how your board is made.
Tags: PCB, pcb design


