Are you find a LED PCB assembly solution? How do you find a good quality LED PCB assembly factory? This blog breaks down the essentials: assembly machines, assembly processes and cost, and how to select a reliable LED PCB manufacturer.
Best technology, we focus on LED PCB assembly over 18 years. We can achieve LED PCB fast assembly (48-72hours fast delivery) by our stable electronics supply chains and our four SMT full-automatic production lines. So we are able to ensure consistency in luminous efficiency at fast assembly. Then all the LED PCB we assembled will be full inspected before and after assembly to reduce reworking cost. If you have any request for LED PCB, please feel free to contact us. sales@bestpcbs.com
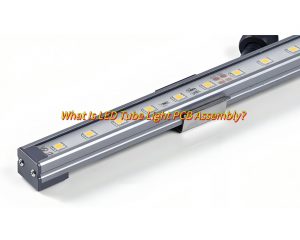
What Is LED PCB Assembly?
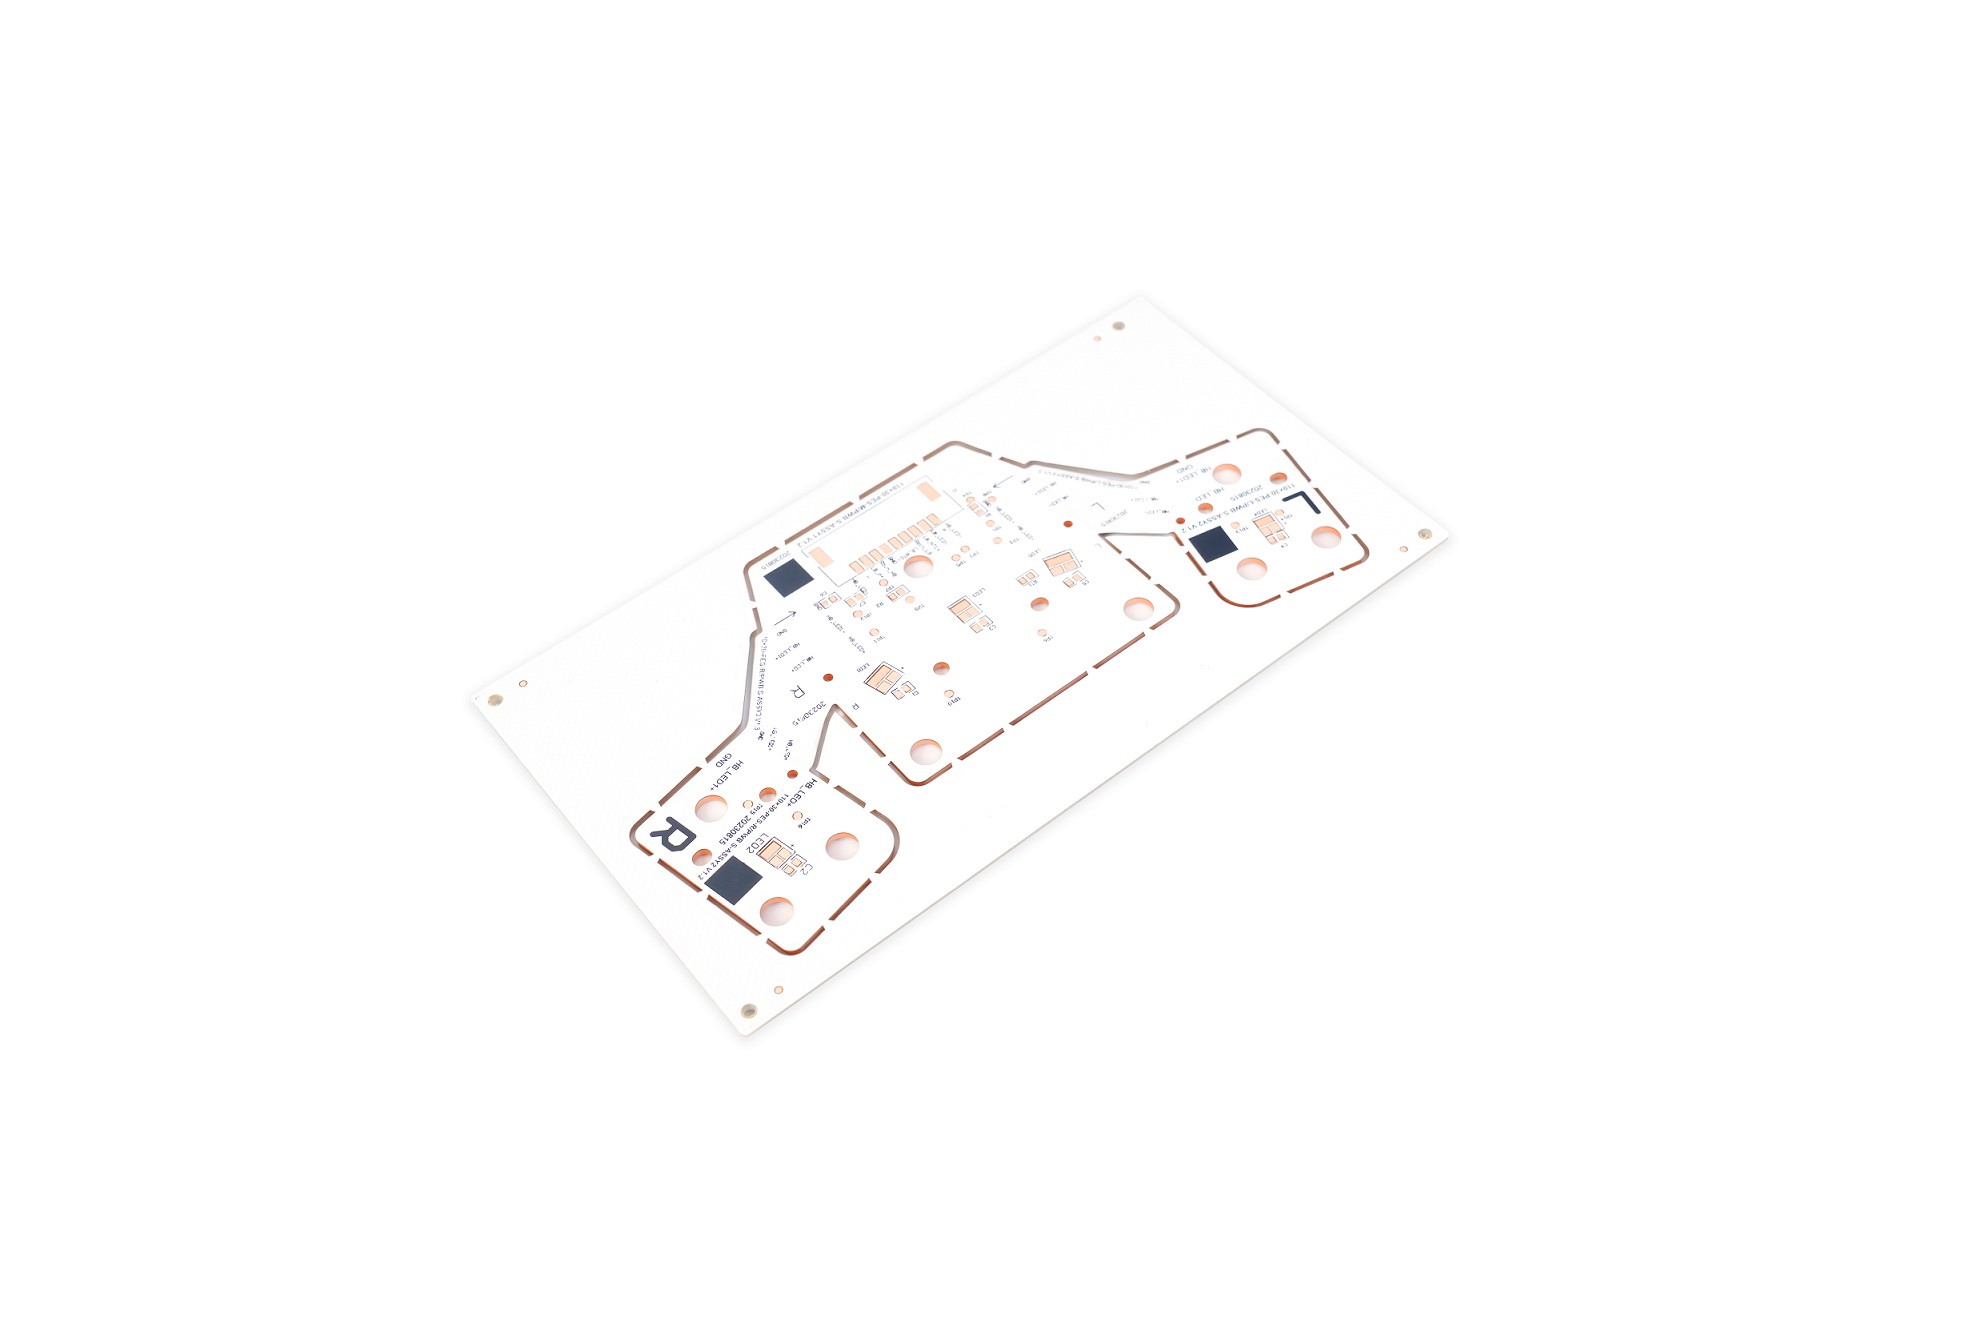
LED PCB assembly refers to the process of mounting LED components onto printed circuit boards (PCBs) to create functional lighting systems or electronic devices. This process combines surface-mount technology (SMT) with precision soldering to ensure reliable electrical connections. Key elements include PCB material selection (e.g., aluminum or flexible substrates), component placement accuracy, and thermal management solutions. Manufacturers specialize in this field offer end-to-end services, from design to mass production, catering to applications like LED lighting, automotive displays, and consumer electronics.
What Are the Advantages of HASL Lead-free for LED PCBA?
- Environmental Compliance: Complies with the RoHS directive, eliminates lead pollution, meets global environmental regulations, and is suitable for markets with strict environmental requirements such as consumer electronics.
- High Reliability: Withstands thermal cycling from -55°C to 100°C, suitable for LED applications; the tin layer prevents copper oxidation, enhancing long-term stability; good wettability in the first reflow, resulting in high soldering quality.
- Significant Cost-Effectiveness: Lower cost than Electroless Nickel Immersion Gold (ENIG), suitable for medium-budget projects; mature process, suitable for mass production, reducing unit costs; long shelf life (stable for one year under moisture-proof conditions), reducing storage and rework risks.
- Processing Convenience: Compatible with single/double-sided and multilayer boards (1-26 layers), meeting complex design requirements; short production cycle (12-20 days), suitable for quick delivery; solder joint defects can be repaired with hot air, reducing scrap rates.
- Long-Term Technical Advantages: Mature technology, high stability, suitable for the LED industry’s needs; reliability can be enhanced by adding a nickel layer or optimizing solder paste formulations.

What Assembly Machine Is Used in the LED PCBs Assembly Process?
- Pick-and-place machine
- Reflow oven(Nitrogen reflow is optional, it is very stable but the cost of this kind of assembly machine is much higher than normal reflow oven)
- Solder paste printer
- SPI inspection machine
- AOI inspection machine
- X-Ray inspection machine
- Conformal coating machine
- Functional testing equipment
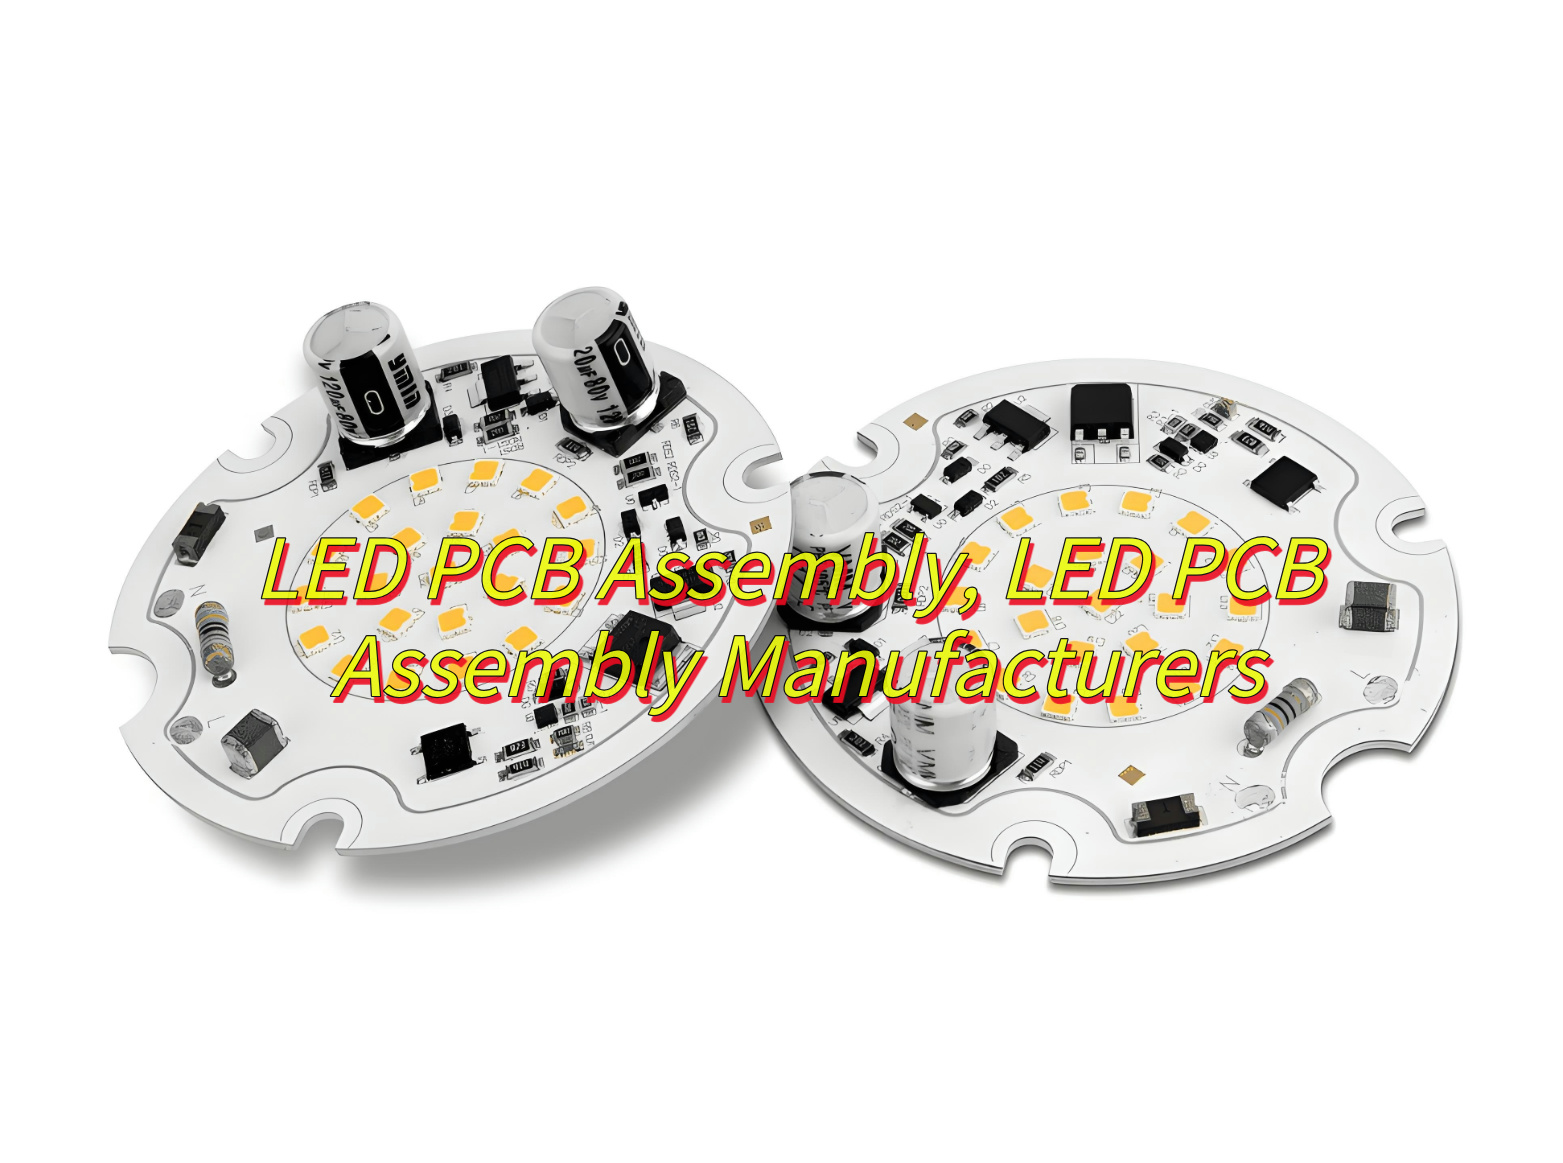
What Are 5050 LED PCB Assembly Process Steps?
Here’s a streamlined list of the 5050 LED PCB assembly process steps:
1. Incoming inspection of LED/materials
- Use a two-dimensional measuring instrument and a film thickness tester to check the appearance size of the LED bracket, the thickness of the electroplating layer, and the oxidation phenomenon .
- Verify the specifications of the 5050 LED (package size 5.0×5.0×1.6mm, polarity identification) and the IC model (such as SK6812) .
2. Baking materials
- Unopened LEDs need to check the air tightness of the packaging, and complete the soldering within 24 hours after opening; if moisture is absorbed, it needs to be baked at 60℃ for 24 hours .
- Pre-bake the PCB board (120℃/2H) to remove moisture .
3. Pick and Place & Solder paste printing
- Use a laser steel mesh to print SAC305 lead-free solder paste, with a thickness control of ±10μm
- Clean the steel mesh regularly to avoid clogging and uneven printing .
4. SPI Inspection
- Use 3D optical detection of solder paste volume, coverage area, and offset to ensure printing quality.
5. SMT( Surface Mounted Technology)
- IC (such as WS2812B) and small resistors and capacitors are mounted first, and 5050 LED is mounted last.
- Check that the polarity mark (cathode/anode) is aligned with the PCB silk screen.
6. Reflow soldering
- Preheating (150–180℃/60–90s) → Constant temperature (180–220℃/60–120s) → Reflow peak (240–260℃/10–30s) → Cooling (slope ≤4℃/s).
7. Post-furnace inspection
- Visually check for offset, tombstone, and cold soldering.
- Use an anti-static soldering iron (temperature ≤260℃/time ≤3 seconds) for manual correction.
8. AOI (Automatic Optical Inspection) & X-Ray inspection(Optional)
- AOI: Scan solder joint integrity, LED polarity, and component missing, and mark defective products for repair.
- X-Ray: Detect pores or cracks in hidden solder joints (such as LED heat sink pads) to ensure heat dissipation performance.
9. Post-soldering & Cleaning
- Limited to rework scenarios, soldering iron temperature ≤300℃, avoid touching the LED colloid.
- Wipe with isopropyl alcohol (IPA) or low-residue solvent, and disable ultrasonic cleaning (to prevent damage to LED colloid).
10. Testing & Conformal coating
- Electrical test: 5V drive current (60mA/LED), RGB color consistency.
- Signal test: verify address control protocol (such as PWM dimming).
- Conformal coating: Spray acrylic or silicone conformal coating, and enhance moisture and sulfur corrosion resistance after curing.
11. Box Building Assembly & Packaging and shipment
- Assemble the LED PCB with the heat sink and the housing to ensure that the contact surface is flat.
- Packaging with vacuum moisture-proof bag/bubble bag/custom blister box, and marking the outer box with shockproof/sulfur-proof logo.
How to Choose A High Quality LED PCB Assembly Manufacturer?
Here are some ways of how to choose a high quality LED PCB assembly manufacturer:
- Certified Quality Assurance-The manufacturer holds international certifications like ISO 9001, ISO 14001, and UL, ensuring their quality management system and products meet global standards.
- Advanced Technical Capabilities-They possess state-of-the-art equipment and technology, such as AOI machines and X-ray detection, enabling precise and high-quality production. They can also handle special processes like HDI boards and rigid-flex boards.
- Rigorous Quality Control-A comprehensive quality control process is in place, covering incoming material inspection, in-process inspection, and final product testing. Reliability tests ensure the PCB’s stability and durability.
- Flexible Production Capacity-The manufacturer can handle both small and large orders, adapting to different complexities and changes in demand, ensuring timely delivery.
- Excellent Customer Service-They provide responsive communication, prompt technical support, and engineering assistance, such as DFM analysis, to help optimize your design and ensure a smooth production process.
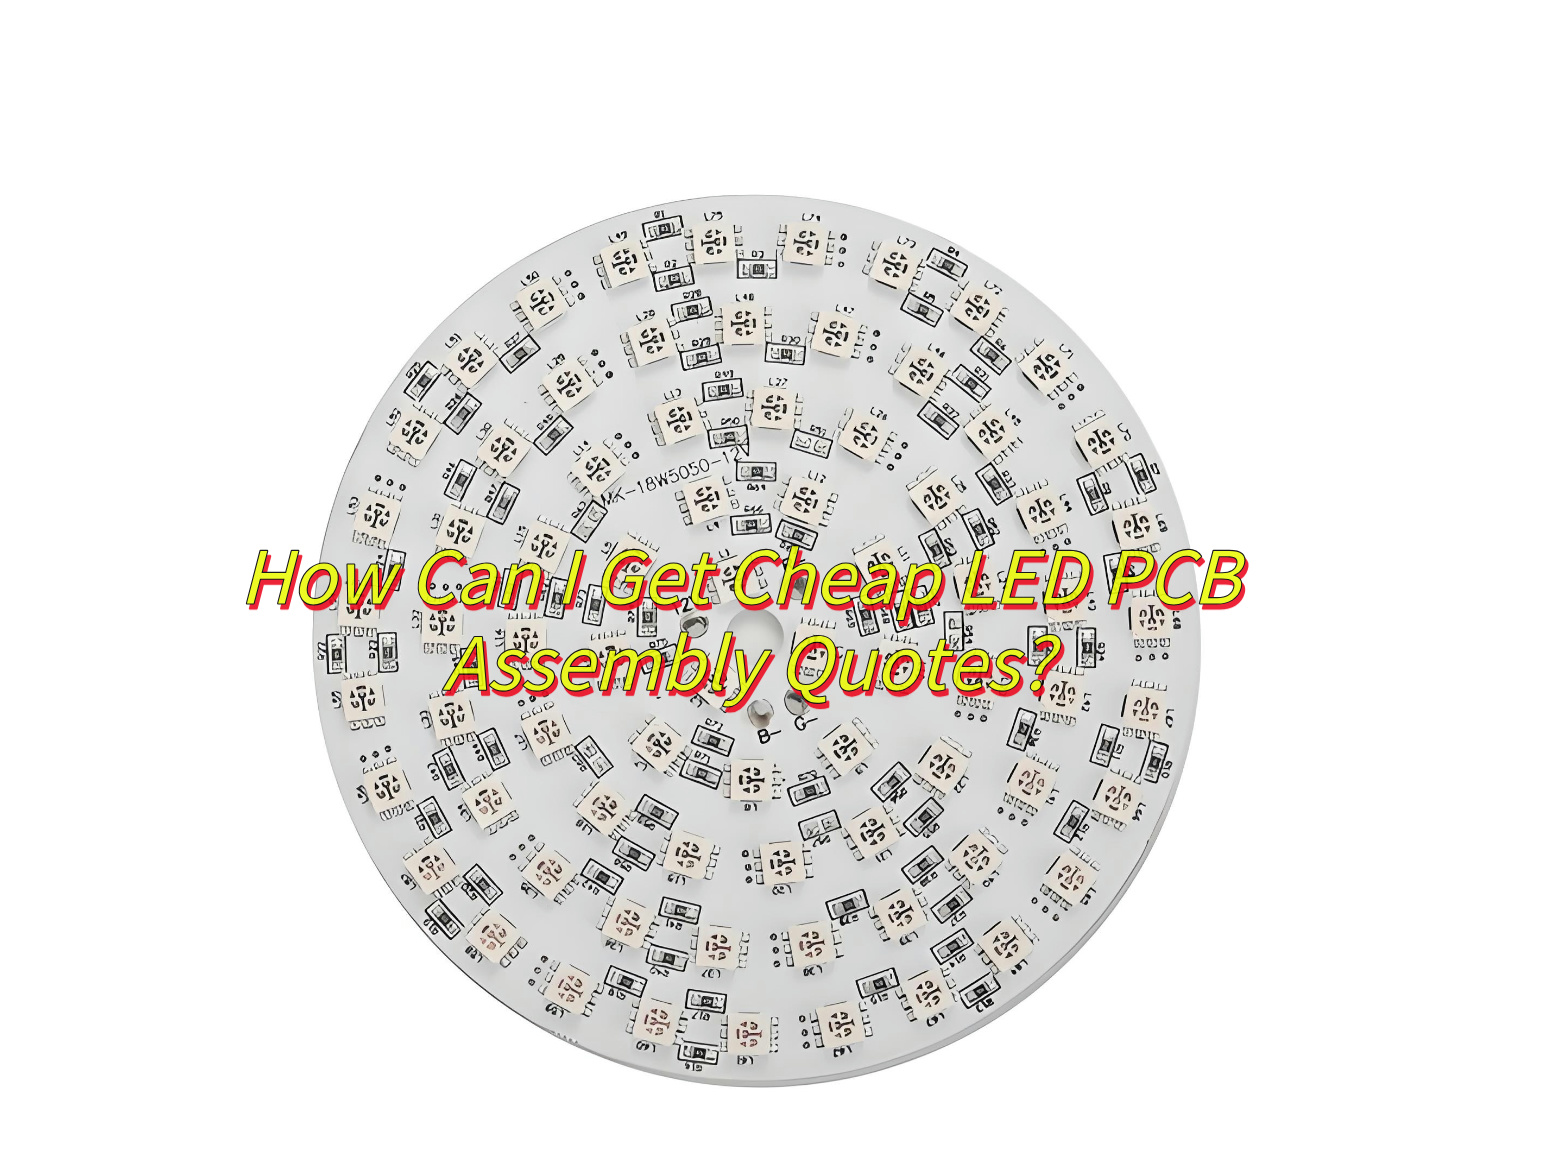
How Can I Get Cheap LED PCB Assembly Quotes?
To get cheap LED PCB assembly quotes, follow these steps:
- Compare Multiple Manufacturers: Contact several manufacturers to compare prices and services.
- Provide Detailed Specifications: Clearly outline your PCB requirements, including layer count, material, and components.
- Optimize Your Design: Simplify your PCB design to reduce costs.
- Order in Bulk: Larger orders often qualify for volume discounts.
- Build Long-Term Relationships with one supplier: Negotiate better rates by committing to repeat business.
How Much Does LED PCB Assembly Cost?
Here is a LED PCB Assembly pricelist:
- Setup fee: Around $200
- Placement cost: Around $0.01-$0.05 per component
- Standard LEDs (e.g., 5050 RGB): Around $0.10-$5 per unit
- Specialty LEDs (e.g., SK6812): Around $0.50-$5 per unit
- Solder Paste Stencil:Around $100
- AOI Testing: Around $50-$100 per batch
- Functional testing: Around $100 per batch
- Conformal Coating: Around $1-$10 per board
- Packaging: Around $3-$7 per unit

Note: Prices assume mid-range specifications and bulk orders. For exact quotes, please provide BOM and Gerber files with Best Technology.
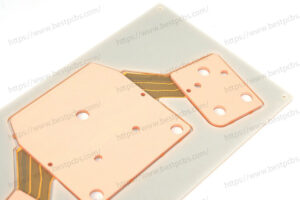
What Are Differences Between Aluminum and Flex LED PCB Assembly?
Here are the main differences between Aluminum and Flex LED PCB Assembly:
- Material and Structure
Aluminum PCB: Uses an aluminum base for heat dissipation, suitable for high-power LEDs.
Flex PCB: Made of flexible materials, allowing bending and complex shapes. - Thermal Performance
Aluminum PCB: Excellent heat dissipation, ideal for high-temperature applications.
Flex PCB: Limited heat dissipation, suitable for low-power applications. - Applications
Aluminum PCB: Commonly used in high-power LED lighting and power modules.
Flex PCB: Suitable for irregular or complex spaces, such as automotive lighting and wearables. - Cost
Aluminum PCB: Generally more cost-effective for mass production.
Flex PCB: Higher cost due to specialized materials and manufacturing. - Manufacturing Complexity
Aluminum PCB: Simpler manufacturing process.
Flex PCB: Requires specialized equipment and techniques for complex designs.
In conclusion, that’s all about LED PCB assembly and how to select a good quality LED PCB supplier. If you have any issues about LED PCB, welcome to leave a message below this blog.