Are you curious about aluminum LED PCB solutions? This guide explores their types, uses, cost-saving tips like LED PCB separators, and how to select reliable manufacturers.
Best Technology specializes in aluminum LED PCB with 48 hours rapid prototyping and small volume orders at competitive pricing, leveraging advanced CNC routing and automated AOI systems for precision manufacturing. Our ISO 9001-certified facilities utilize ≥2.5W/m·K thermal-conductive substrates and ENIG-coated pads to ensure solder reliability, while scalable production lines guarantee 20–30% cost savings for bulk projects. Trust us for durable, high-performance LED PCBs tailored to automotive, industrial, and consumer lighting needs. Request a quote today: sales@bestpcbs.com
What Is Aluminum LED PCB?
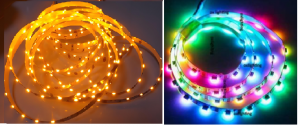
An aluminum LED PCB is a specialized circuit board designed to support high-performance LED systems by integrating an aluminum base layer. Unlike traditional boards, it leverages the metal’s exceptional thermal conductivity to rapidly absorb and disperse heat generated by LEDs, preventing overheating and ensuring stable operation. This design prioritizes efficient heat dissipation without relying on bulky cooling components, making it ideal for environments where space and reliability are critical. By maintaining lower operating temperatures, the Aluminum LED PCB directly enhances LED brightness consistency and extends the lifespan of lighting systems, offering a compact yet durable solution for modern LED technology.
What Are Types of Aluminum LED PCB?
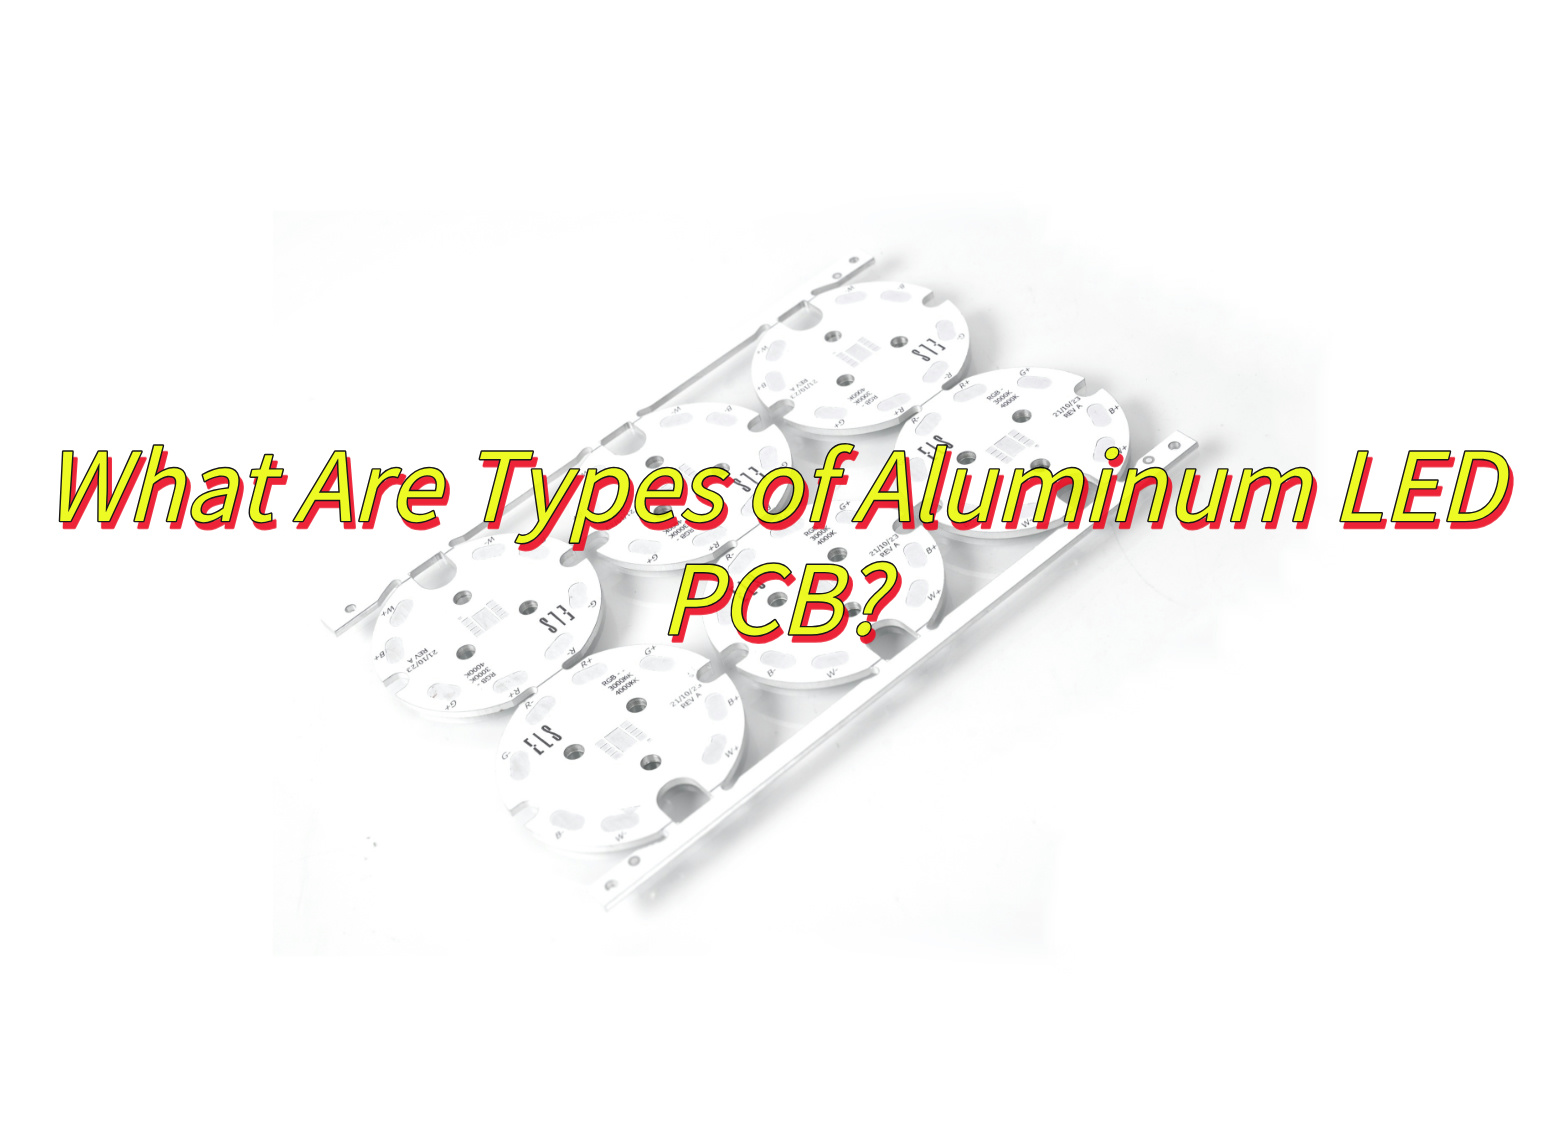
Below are the types of aluminum LED PCB:
- Flexible Aluminum LED PCB –Built with a bendable dielectric layer and thin aluminum core, this type supports curved or irregular designs while maintaining heat dissipation efficiency. Ideal for compact or dynamic lighting layouts, it avoids rigid structural limitations.
- Hybrid Aluminum LED PCB -Combines traditional FR-4 layers with an aluminum base layer, balancing cost and thermal management. The hybrid structure enhances rigidity and heat transfer compared to standard boards, offering a cost-effective thermal solution.
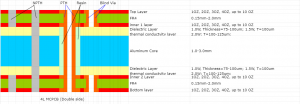
- Standard Single/Double Layer Aluminum LED PCB –Features a single or dual conductive copper layer bonded to an aluminum substrate through an insulating dielectric layer. The single-layer variant is common for basic LED setups, while double-layer designs enable complex circuitry for advanced lighting systems.
- High Thermal Conductivity Aluminum LED PCB -Uses premium dielectric materials (e.g., ceramic-filled polymers) to achieve thermal conductivity above 1.5W/m·K, far exceeding standard boards. This type minimizes thermal resistance, ensuring rapid heat dispersion for high-power LEDs.
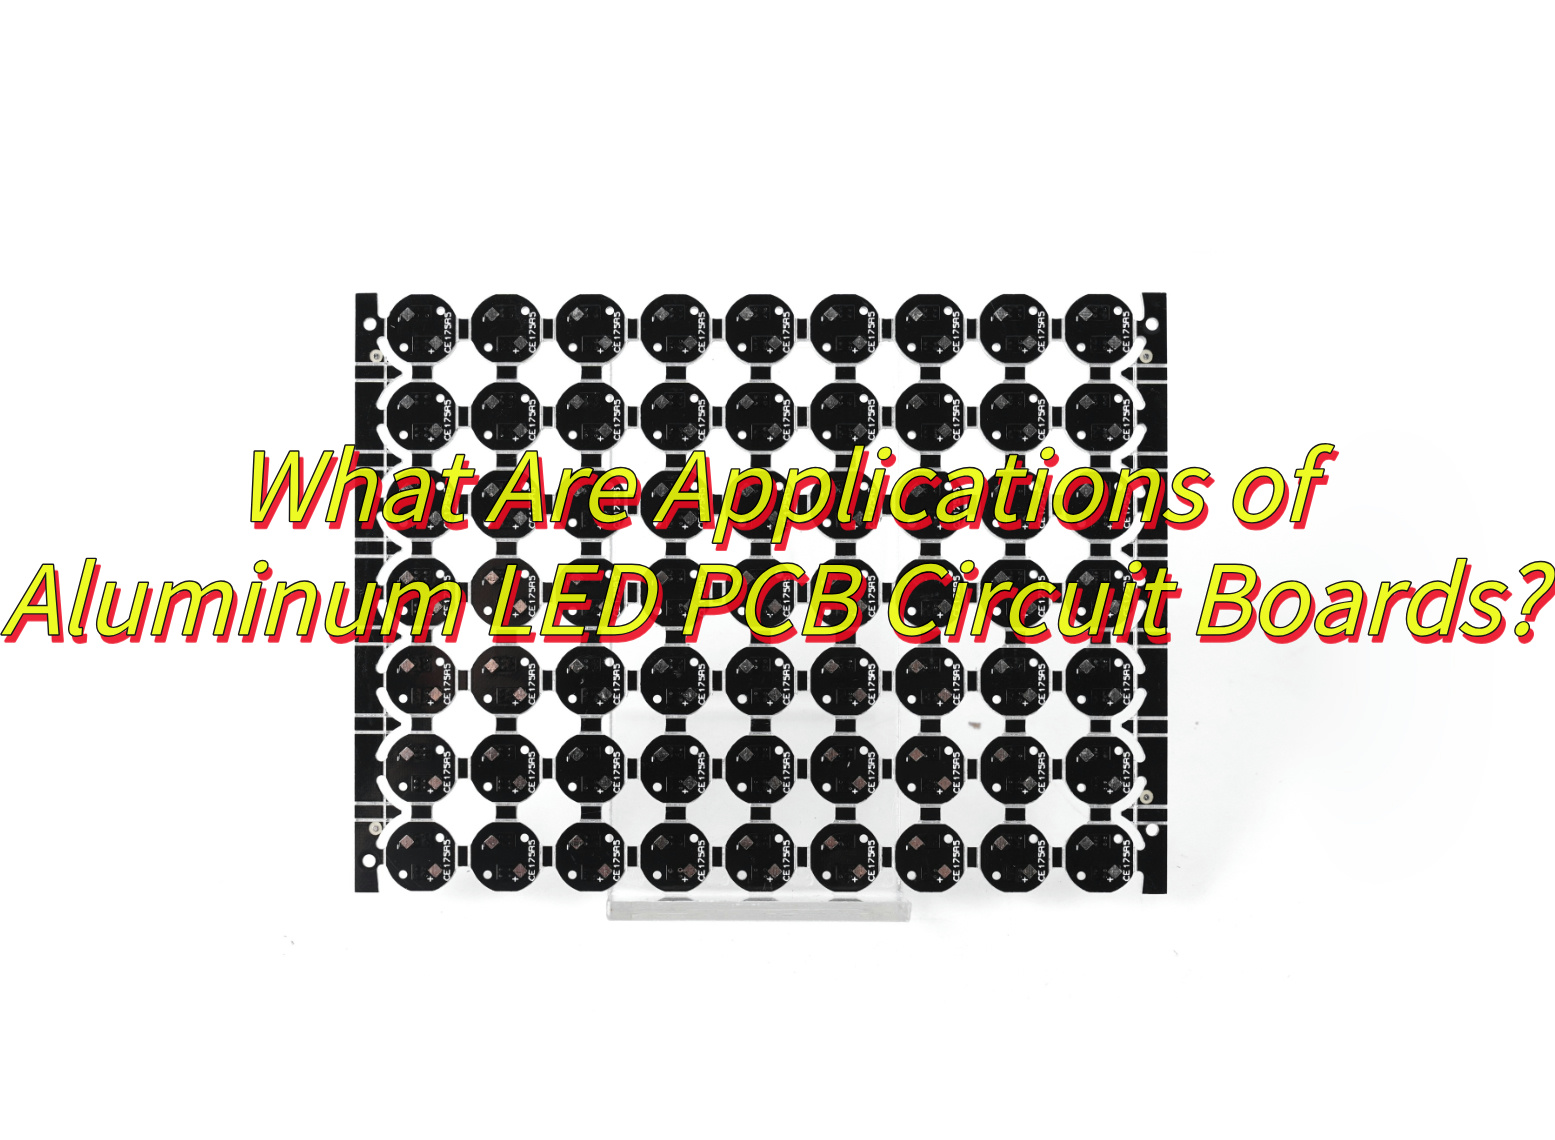
What Are Applications of Aluminum LED PCB Circuit Boards?
Here are application of aluminum LED PCB:
- Automotive Lighting Systems-In aluminum PCB LEDs for cars, these boards power headlights, taillights, and interior lighting. Their rapid heat dissipation ensures stable performance in high-temperature environments, critical for safety and longevity in automotive designs.
- High-Intensity General Lighting-They are integral to LED streetlights, floodlights, and commercial fixtures, where consistent thermal control prevents lumen degradation and extends operational life.
- Consumer Electronics–Compact devices like LED displays, backlight units, and decorative lighting rely on aluminum PCBs to maintain low operating temperatures in confined spaces.
- Industrial Equipment–Used in machinery lighting, UV curing systems, and medical devices, they withstand harsh conditions while ensuring uninterrupted LED functionality.
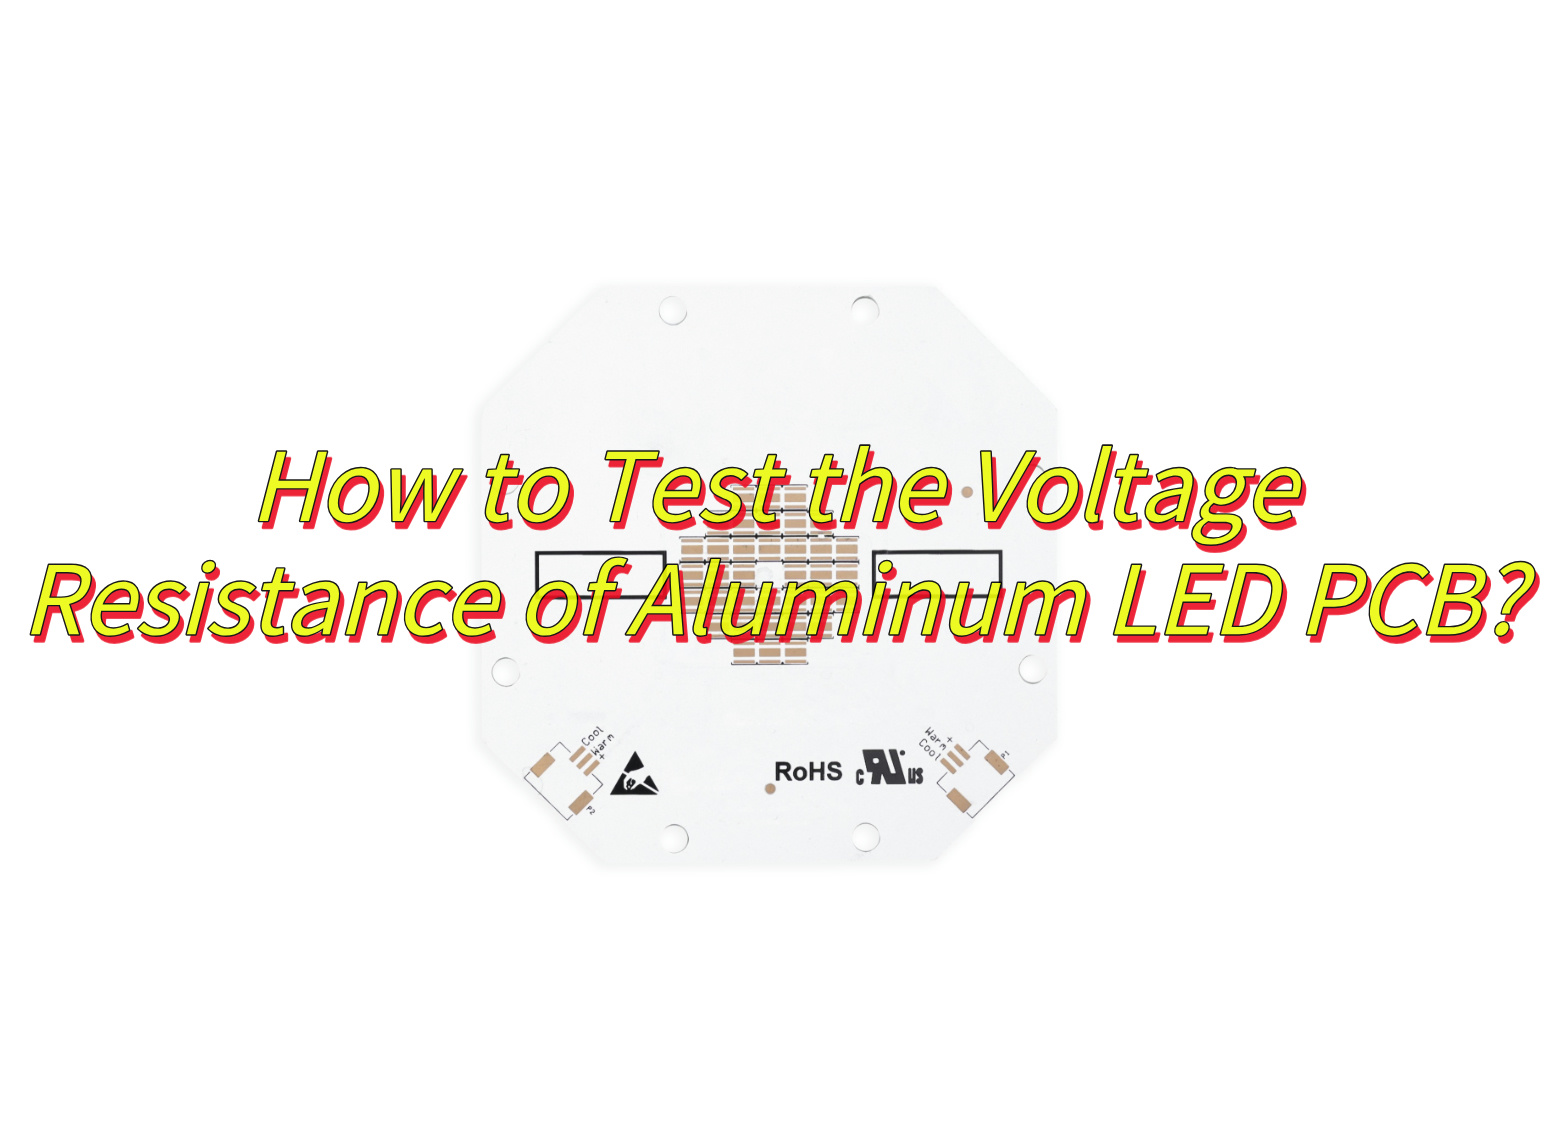
How to Test the Voltage Resistance of Aluminum LED PCB?
Testing the voltage resistance of aluminum LED PCBs ensures reliability in high-stress environments like automotive and industrial lighting. Below is a step-by-step guide to evaluate insulation integrity and withstand voltage performance:
1. Pre-Test Preparation
- Clean the PCB surface to remove dust, oxidation, or contaminants that could skew results.
Verify the dielectric layer thickness (≥75μm for automotive-grade PCBs) using calipers or microscopy.
2. Insulation Resistance Testing
- Use a megohmmeter (500–1,000V DC) to measure resistance between conductive traces and the aluminum base. Acceptable values exceed 10MΩ at 25°C.
For humid environments, test at 85% relative humidity to simulate real-world degradation risks.
3. AC/DC Withstand Voltage Testing
- Apply 1,500V AC (or 2,120V DC) for 60 seconds between the circuit and aluminum substrate.
- Monitor for leakage currents (<10mA) and arcing. Failures indicate micro-cracks or dielectric flaws.
4. Dielectric Breakdown Voltage Test
Gradually increase voltage (500V/sec) until breakdown occurs. Target thresholds:
- ≥3kV for general LED strips.
- ≥5kV for automotive or aerospace applications.
- Conduct tests in insulated oil baths to minimize external arcing risks.
5. Post-Test Validation
- Perform microscopic inspection to identify localized damage in dielectric layers.
- Use thermal imaging to detect hotspots caused by residual leakage currents.
- Safety Protocols
- Ground the aluminum substrate to prevent electrostatic discharge.
- Equip testers with high-voltage gloves and isolation mats.
How to Solder LED Lamp Beads on Aluminum PCB?
Here is how to solder LED Lamp Beads on aluminum PCBs:
1. Workspace Preparation
Essential Tools:
- Hot air rework station (ensures even heat distribution).
- Lead-free solder paste (Sn96.5Ag3.0Cu0.5 recommended).
- Precision stencil (matches LED pad layout).
- ESD-safe equipment (prevents electrostatic damage).
2. Surface Cleaning
- Why It Matters: Aluminum alloy porous surface traps contaminants.
- Action: Wipe the PCB with isopropyl alcohol (IPA) and lint-free cloth. Avoid bare-hand contact post-cleaning.
3. Solder Paste Application
Technique:
- Secure the PCB on a flat surface.
- Align the stencil over LED pads.
- Spread paste evenly using a squeegee (45° angle, single pass).
- Tip: For dense LED arrays, use Type 4 solder paste to avoid slumping.
4. LED Placement
Precision Matters:
- Use a vacuum pick-and-place tool for accurate component alignment.
- Verify LED polarity matches PCB markings.
- Gently press LEDs into paste to ensure adhesion.
5. Reflow Soldering
Optimized Profile:
- Preheat: 120–150°C (ramp rate: 1–2°C/sec).
- Soak: 150–180°C (hold 60–90 sec).
- Peak: 217–227°C (hold 20–40 sec).
- Cooling: Gradual cooldown to avoid thermal shock.
- Critical Adjustment: Reduce peak temperature by 10–15°C compared to FR-4 PCBs due to the conductivity of aluminum alloy.
6. Final Inspection
Quality Checks:
- Visual: Uniform, conical fillets with no cold joints.
- Advanced: Use X-ray inspection to confirm void-free joints (<30% voids acceptable).
How to Choose a Reliable Aluminum LED PCB Manufacturer?
Here’s how to identify a trusted aluminum LED PCB manufacturer:
1. Verify Material Expertise
- Black-Anodized Aluminum : Confirms compatibility with high-power LEDs.
- Thermal Conductivity Testing: Ask for reports proving ≥2.0 W/m·K performance.
2. Assess Production Capabilities
- In-House Fabrication: Prioritize manufacturers with CNC machining and laser cutting facilities for tight tolerances.
- Surface Finish Options: Ensure they offer smooth matte finishes to enhance solder adhesion.
3. Quality Certifications
- Mandatory Standards: Look for ISO 9001, UL, and RoHS compliance.
- Advanced Testing: Request details on thermal cycling and vibration testing protocols.
4. Customization Flexibility
- Design Support: Choose partners offering DFM (Design for Manufacturing) reviews.
- Prototype Turnaround: Aim for ≤5 days for sample delivery.
5. Client References
- Case Studies: Seek projects matching your application (e.g., automotive lighting, industrial panels).
- Review Feedback: Check third-party platforms for unbiased testimonials.
How to Reduce Production Cost of LED Aluminum PCB?
Here are practical strategies to reduce cost of LED aluminum PCB board:
- Optimize Material Selection: Choose cost-effective aluminum substrates like 5052 or 6061 alloys, which balance thermal conductivity and affordability. Pair these with thin, high-performance dielectric layers to reduce material waste.
- Integrate LED PCB Separator Technology: Automated LED PCB separators, such as precision CNC routers, minimize material loss during panelization. This ensures maximum board yield and reduces scrap rates by 15-20%.
- Simplify Design Complexity: Avoid over-engineering by limiting layers and using standardized trace widths. Fewer laser-drilled vias and simplified layouts lower machining time and material consumption.
- Streamline Production Workflows: Adopt automated processes like AOI (Automated Optical Inspection) to catch defects early, reducing rework costs. Bulk purchasing of raw materials (e.g., copper foil) also cuts expenses.
- Recycle Aluminum Waste: Reuse scrap aluminum from separator processes for non-critical components. Recycling programs can offset up to 10-15% of raw material expenses.
FAQs of Aluminum PCB LED Strip Production
Q1: Why do my LED strips overheat?
A1: Overheating often stems from poor thermal design. Use aluminum PCBs with ≥2.0 W/m·K thermal conductivity and add thermal vias to improve heat dissipation. Ensure airflow around the strips isn’t obstructed.
Q2: How can I prevent delamination?
A2: Delamination occurs due to low-quality adhesives or improper curing. Choose high-temperature epoxy resins and follow curing guidelines strictly. Avoid exposing strips to excessive humidity during bonding.
Q3: What causes LED color inconsistency?
A3: Inconsistent binning of LEDs or voltage drops across the strip often cause color variation. Use LEDs from the same bin and implement current-limiting resistors to stabilize voltage.
Q4: Can I solder directly onto aluminum PCBs?
A4: Yes, but use low-temperature solder (≤220°C) to avoid damaging the aluminum oxide layer. Apply flux evenly to ensure proper adhesion.
Q5: How do I clean aluminum PCBs without damage?
A5: Use isopropyl alcohol (IPA) and a soft brush to remove debris. Avoid abrasive cleaners or ultrasonic cleaners, as they may erode the PCB surface.