|
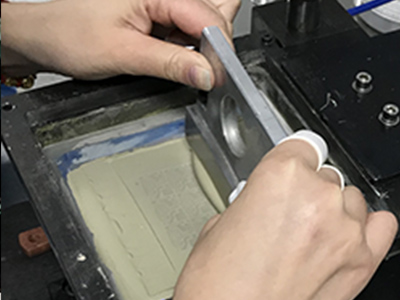
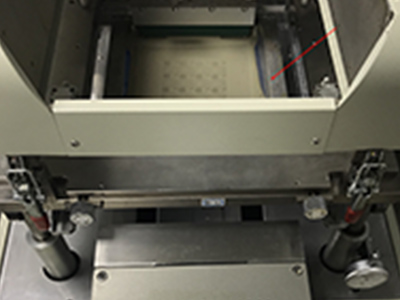
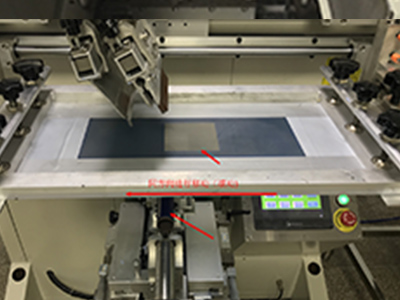
When all the steps are finished, then we are able to go to Sample making and ready to volume production. If you have any questions about the last step, click here to know more details: Conductive ink preparation 1.Fixing the ceramic substrate on the base by fixing the two adjacent sides of the substrate. The holes in the operating platform is connected to the air compressor, so that the air between the substrate and the operating platform will be removed after the substrate put up, then the substrate can be firmly fixed on the operating platform without moving. 
2、Align the locations of the stencil and the substrate. 3、Putting the ink on the stencil. 
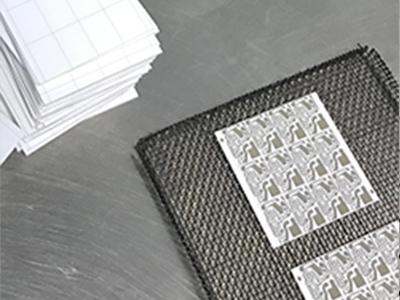
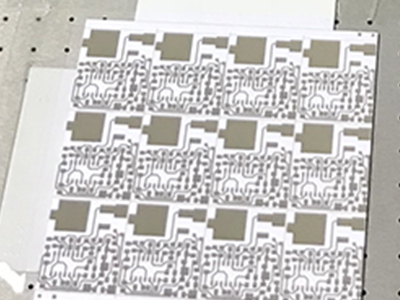
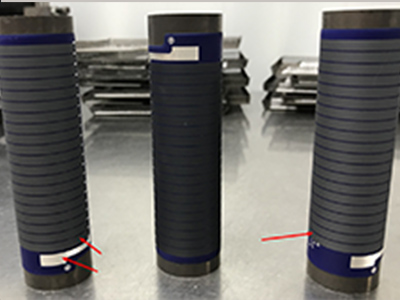
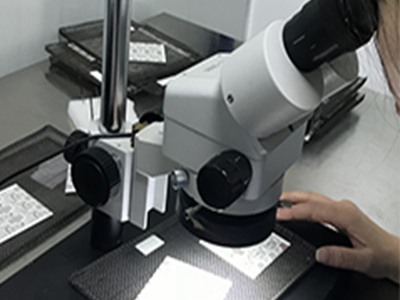
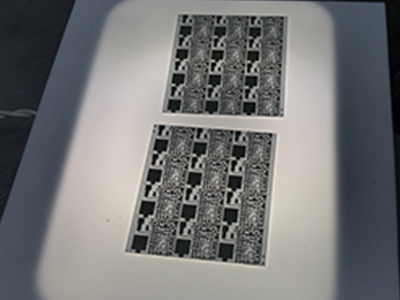
4、 Make the sample The picture below is the cylindrical substrate printing. The substrate is put on a rotating shaft and rotates with the scraper on it. There is a contact surface between the cylinder and the stencil, which is relatively flat, so that the scraper can print the conductor onto the cylinder evenly. 5、Checking the printing quality Here we finished Sample making, then we can move to the Spreading, drying and over the firing oven , so that ink can be combined with ceramic substrate |
